Within the last decade, FDM 3D printers have transformed from expensive, industrial machines, and become cheap 3D printers you can fit on your desktop and print with ease for just a few hundred dollars. The RepRap movement spurred these innovations, and now a variety of Chinese companies have further expanded on these low cost printers to make 3D printing more accessible than ever before.
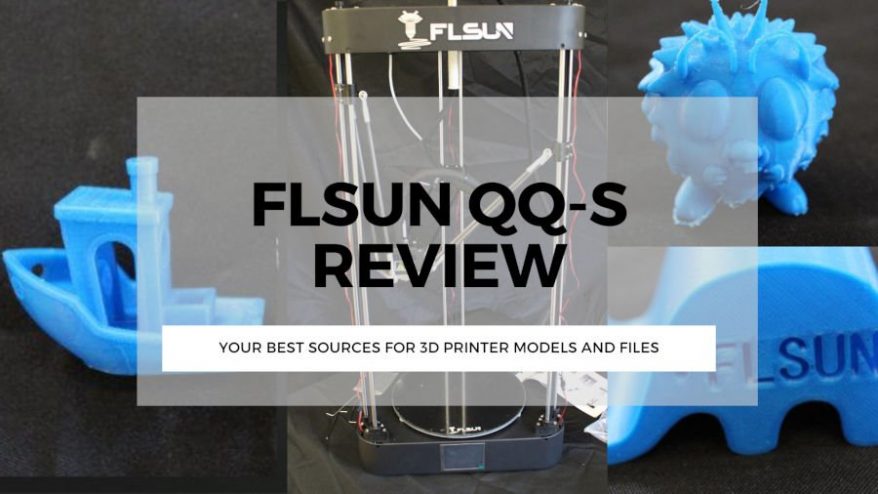
One of these companies, FLSUN, make a number of great delta 3D printers, including the FLSUN QQ-S, an upgrade on the original FLSUN QQ. We were lucky enough to be sent one of these by Gearbest to test and review.
We are very grateful to Gearbest for sending us the QQ-S to try out, and they have given us some discount coupons for your own FLSUN QQ-S. Simply click this link, and enter code: W4FFA008885EB001 at checkout to get $20 off!
FLSUN QQ-S Specs, Build volume, price, speed
- Price: $309 — Available on Gearbest here / Available on Amazon here
- Build volume: 255 x 255 x 360 mm
- Weight: around 12kg in the box
- Speed: up to 300mm/s, minimum speed 30mm/s, default running speed 60 mm/s.
Improvements from the QQ-S over the original QQ
- Improved lattice glass bed. This makes prints easier to remove, easier to adhere to, and reduces warping in the case of filaments like ABS. It also heats up far quicker, speeding up your time to print. The print bed can reach 100C in under 5 minutes with ease.
- Titan extruder: titan extruders are known for their high quality. The FLSUN comes with standard 0.4mm nozzle, but you can change this based on your printing needs. There are also plenty of spare parts. The E3D brand is not present however.
FLSUN QQ-S: Building Process
The FLSUN QQ-S advertises itself as coming 90% assembled, with only the actual structure of the printer, with the three panels and six metal rods, as well as the tracks, filament holder, and a dozen screws to tighten left to do once you’ve unboxed it. The only parts that you need to assemble are the ones that give the printer its height, as otherwise the FLSUN QQ-S would not be able to ship in such a compact package.
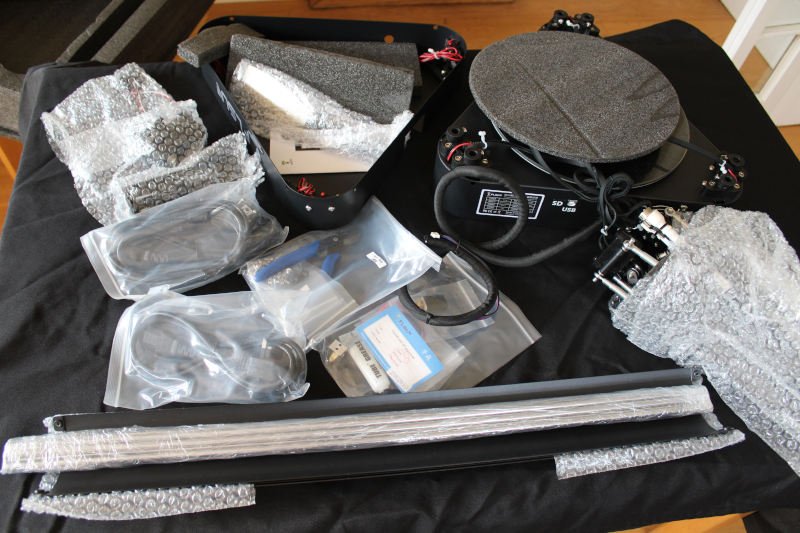
Assembling the FLSUN QQ-S 3D printer kit took around 45 minutes with two colleagues, though this could have been around 30 minutes if really trying. Take your time to ensure all the bolts are fully screwed in, and that all the gear belts are free and untangled.

Once you’ve built the printer, you just need to let the printer level itself, which takes around 5 minutes. Then, fix the Z axis and feed the filament in to the top of the printer, and you’re ready to go.
FLSUN QQ-S: 3D Printing
The FLSUN QQ-S comes with a USB stick and microSD card for printing, but the USB stick carries assembly instructions and cannot be used to 3D print with. Only the microSD card can be used, so if you do not have a microSD drive for your laptop or computer, you will need to buy an adapter, such as a SD card to USB stick adapter. These only cost around $7 and can be bought here.
From there on, all you need to do is install Cura, an easy to use and fast 3D slicer that we love, and export your sliced STL file to the SD card and stick it in the back of your printer. It’s really easy and works well. Cura has FLSUN QQ-S presets, so all you need to do is select your printer, and a number of default settings for the printer will load up. You can still change these as you wish, but for beginners, these settings are fine.
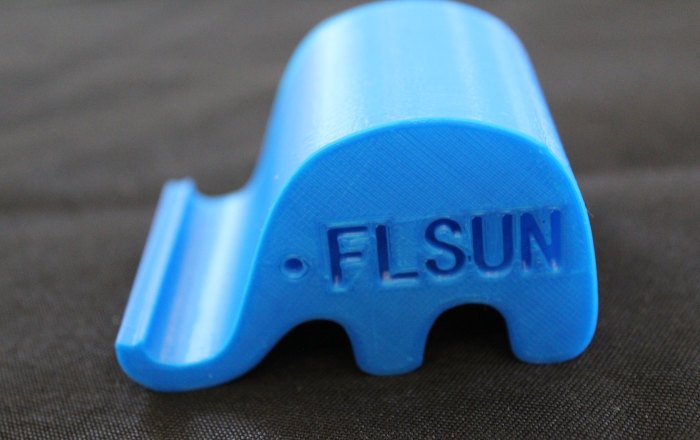
First print: FLSUN Elephant
The first model we printed was one of the default 3D printer models that came on the SD card, an FLSUN-branded elephant. This took a little over an hour to print, and came out looking great. The printer handled the intricate FLSUN indents perfectly, as well as the elephant’s eye, and without any stringing.
The only imperfections were the first couple of layers did not adhere as well, but this can be corrected in your print settings by starting your print at a higher temperature for the first few layers. The glass print bed makes removing prints easy and with no marks, and the printer itself comes with a glue build surface.
The next prints: intricate, small character printing test
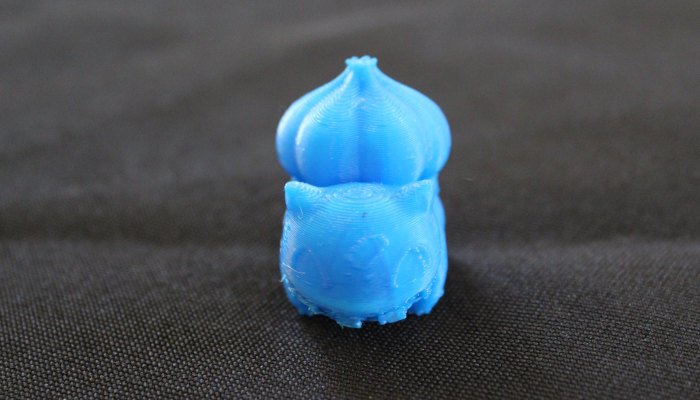
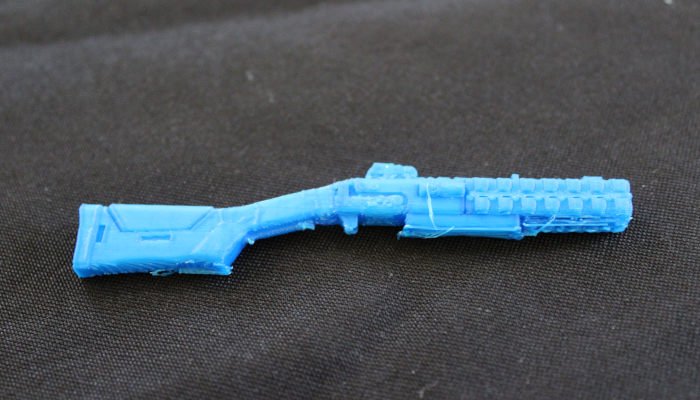
Now we had tested a larger, more uniform 3D printed part, we moved to more intricate pieces. To test this, we used models found on Thingiverse of a Bulbasaur pokemon, and to try a very thin and intricate model, the Peacekeeper 3D printed gun from the popular game Apex Legends.
They were printed simultaneously on default settings and with supports, and both models took around 80 minutes altogether. Both came out well, but because they are both such small models, the supports were difficult to remove and left slight marks, especially on the underside on the Bulbasaur’s face. A larger model print, and better positioning of the object, would have left less areas necessary for supports and would have made printing better.
Benchy, vase and more pokemon
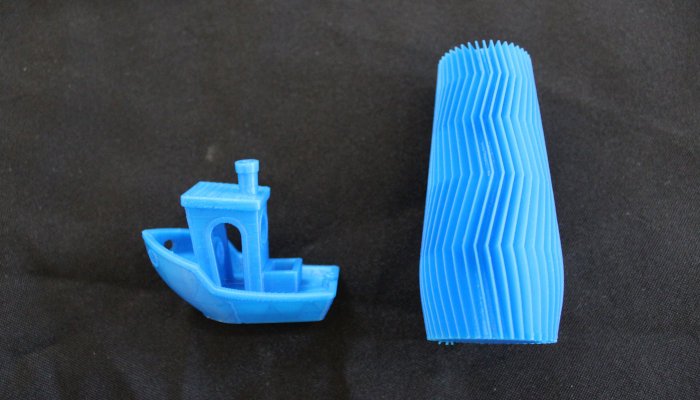
The standard test of any good 3D printer, we printed a 3DBenchy with zero supports. The result was an almost perfect Benchy — barely any imperfections even in the overhangs to create the inside part. Very impressive from the FLSUN QQ-S 3D printer.
We also tried printing a small vase with some interesting geometric shapes, also shown below. The FLSUN QQ-S again passed every test, creating a beautiful vase model with crisp features and no errors.
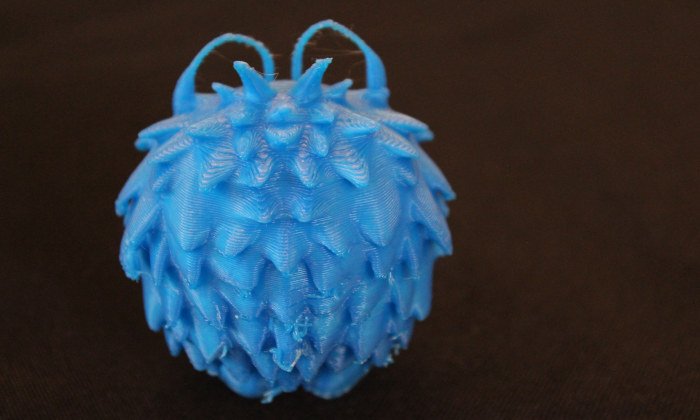
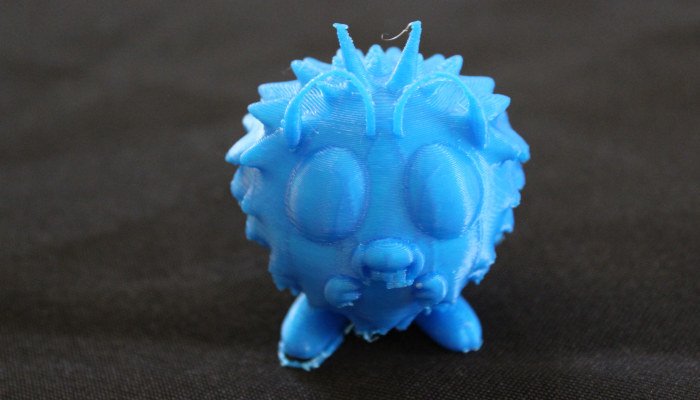
Next, we tried a larger Pokemon model, of a Venonat. This took around 2 hours, and came out looking crisp and well defined, even in the antennae and top spikes which are printed vertically with no supports. There were small amounts of stringing but this is to be expected in this situation. We printed it with supports, but turned on its side the model could probably have been smoother. Again, this does not reflect on the FLSUN QQ-S, but on our haste.
There are some imperfections on the model, but not because of the 3D printer, but because of the support settings. They were set to print everywhere, which led to them taking around 10 minutes to remove, and made them more difficult to remove. As a result, imperfections from cutting supports off were left on the model, as shown below, but this can be fixed by smoothing the part.
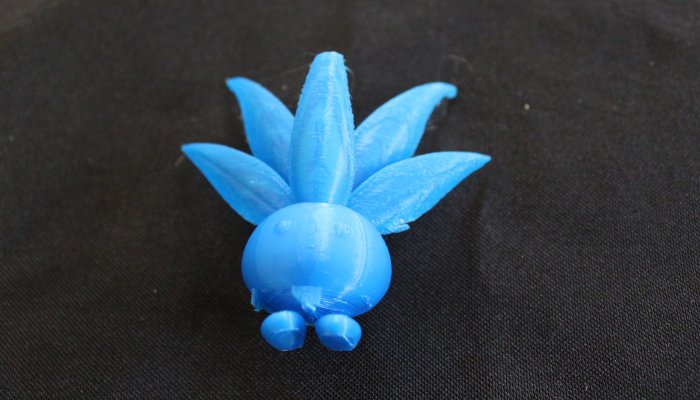
Learning from our mistakes, we then tried an Oddish 3D printer model, but changed the supports to come from the build plate up only, rather than to completely encompass the model. The results were far less invasive supports that could be removed more easily and left less clear signs that they were ever there.
FLSUN QQ-S Review: Advantages and Disadvantages
Pros
- Very large 3D printer, capable of printing large prints that can form cosplays and other large, fun projects.
- Very sturdy, due to the anchoring from the lower and side panels that keep the delta 3D printer stable, and printing accurate.
- Easy to assemble: you can get the FLSUN QQ-S working in under an hour.
- Fast: the FLSUN QQ-S – though default settings are around 60mm/s – can become one of the fastest 3D printers around. Delta 3D printers are known for their speed due to differing extruder builds and weights.
- Easily usable with Cura, which is itself an easy to use 3D printer software
- Has auto leveling and since it has no moving print bed, only needs to be leveled once. This is a major plus for beginners without as much technical skills.
- Workhorse: no print failed, and any messier prints were because we should have better optimized the support settings.
- Easy to use touchscreen, with all auto levelling settings and printing settings easily accessible in just a few clicks.
- Comes with pre-installed models on a microSD card for those who want to get going straight away and don’t have a laptop handy with Cura.
- Handles lots of materials: beyond PLA, the FLSUN QQ-S can print PVA, wood-filled filaments, ABS, and flexible filaments like TPU.
Cons
- Change default print settings to ensure better first layer adhesion. Otherwise your first layer may hang like a loose string.
- Tall and large: this thing stands at not far from a meter tall! Therefore, if you’re looking for a compact, small 3D printer that can fit quietly and neatly on the side of a desktop, look elsewhere.
- Noise: Though it says it is is quiet, the printer’s machine noises on reaching certain coordinates can still be fairly loud. It would be difficult for most makers to concentrate on work or another pastime while the FLSUN QQ-S prints in the same room.
- Open build chamber: this makes it slightly more dangerous if you have a young family, as a child touching the heated bed or extruder can be burned. This also affects ABS printing somewhat as ABS warps more without a heated chamber.

