3D Character Modeling: A Complete Guide


At 3DSourced we’ve covered everything 3D printing and 3D since 2017. Our team has interviewed the most innovative 3D printing experts, tested and reviewed more than 20 of the most popular 3D printers and 3D scanners to give our honest recommendations, and written more than 500 3D printing guides over the last 5 years.
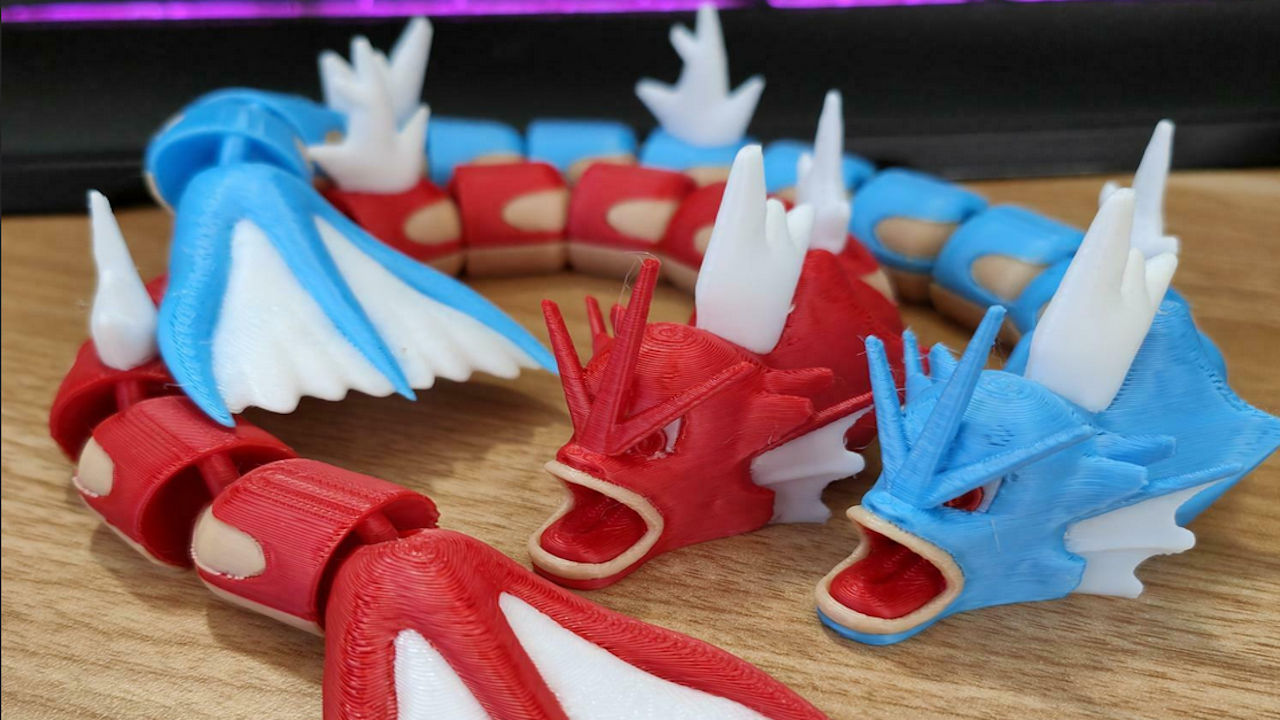
3D character modeling is the process of creating 3D models of characters like dragons, figurines, sculptures, and even the popular hollow knight & hornet.
Also if you want to make a 3D person, 3D character modeling is the way to go.
3D characters are usually used in various industries like in companies that are creating 3D characters for games, animated movies, or other forms of media.
3D character modeling can be a difficult process, but with this guide, you will be able to make a 3D character that looks realistic and lifelike.
In this article, we will discuss how 3D character modeling works as well as how to 3D model a character in 7 simple steps.
So let’s get started!
How Does 3D Character Modeling Work?
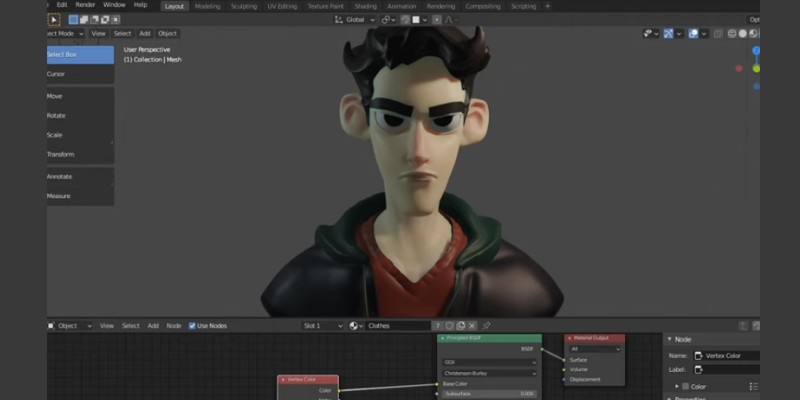
3D character modeling is the process of creating a 3D representation of a character. This can be done using a variety of software programs like 3DS Max, MakeHuman, and ZBrush.
The first step in 3D character modeling is the creation of a base mesh.
This is typically done by starting with a cube and then adding and subtracting polygons to create the desired shape. Once the base mesh is complete, it is time to start adding details.
This is where things can get creative, as there are limitless possibilities for what you can do to make your character look unique. You can add wrinkles, scars, tattoos, etc. The sky is the limit!
Once you are happy with your model, it is time to texture it. This is the process of adding color and shading to your model to give it a realistic look. Texturing can be done in a variety of ways, but the most common method is to use bitmap images.
Different Ways Of 3D Modeling Characters
There are four main techniques for creating 3D characters. These are:
- Polygon modeling.
- NURBs modeling.
- 3D sculpting.
- 3D scanning.
Each of these methods is explained below:
1) Polygon Modeling
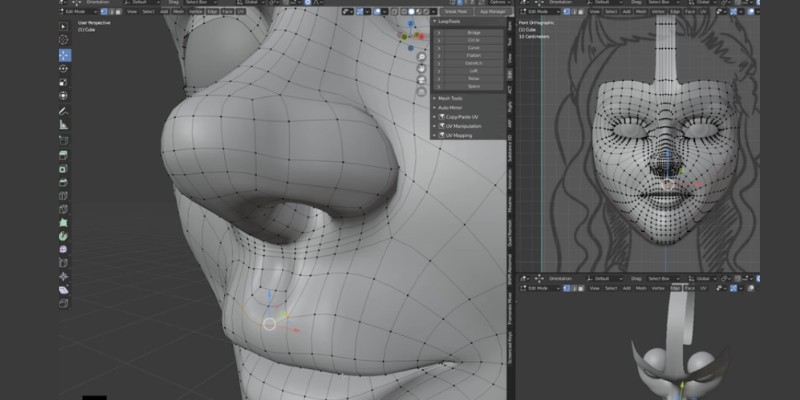
Polygon modeling is where polygons are used to represent the 3D surface of an object. Polygons are usually made up of three or more vertices, which are connected by edges.
One advantage of polygon modeling is that it can create both complex and simple 3D character designs as it allows for a high degree of control over the shape.
Polygons are also planar surfaces, they can be easily manipulated mathematically, which makes them well-suited for computer-aided design applications.
However, one downside of polygon models is that they can require a large number of polygons to represent even simple shapes accurately. This can result in models that are difficult to render in real-time.
To overcome this challenge, character creators often use a technique called mesh simplification, which reduces the number of polygons in a model while still preserving its overall shape.
2) NURBS Modeling
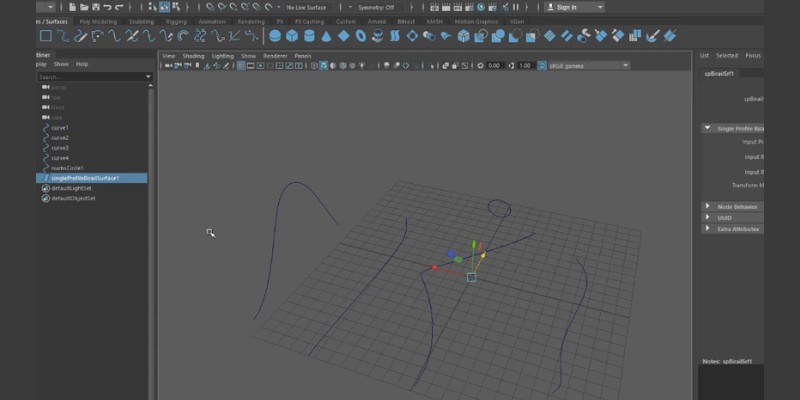
NURBS, or Non-Uniform Rational B-Splines, is a type of curve used in computer-aided design and CAD software. This technique can be used to build 3D characters that are high-quality and realistic as the curves and splines can be easily modified to suit one’s requirements.
The basis of NURBS modeling is a series of connected control points, which can be thought of as the control points of a curve or surface.
By moving these control points, the shape of the curve or surface can be changed. And this makes it easier for one to create complex and smooth shapes.
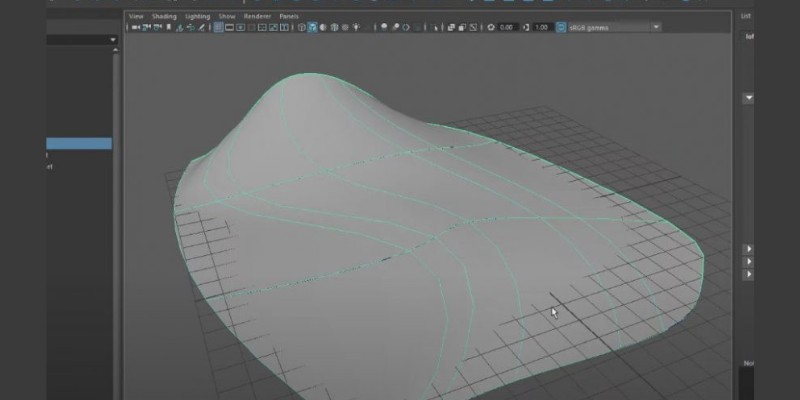
In Maya, for example, to create a smooth surface like the one shown below using the NURBS modeling process, you start by creating curves of how your surface will look:
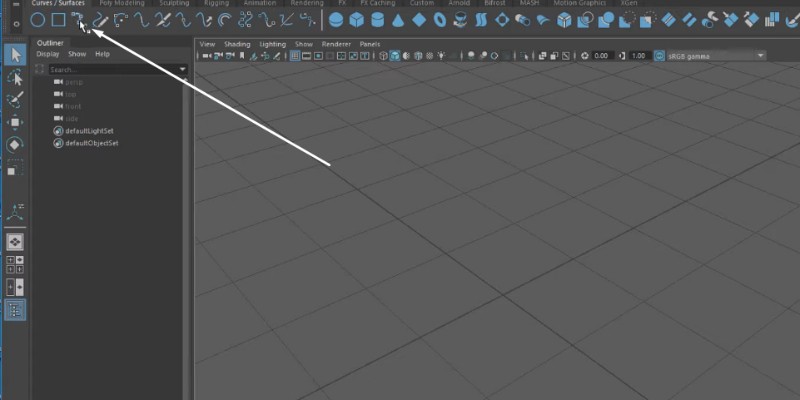
Curves are found on the top left section of the menu bar as shown below:
You can then use it to sketch in the workspace based on how you want your design to appear. Then, you click on the command in the middle of the menu bar of the software.
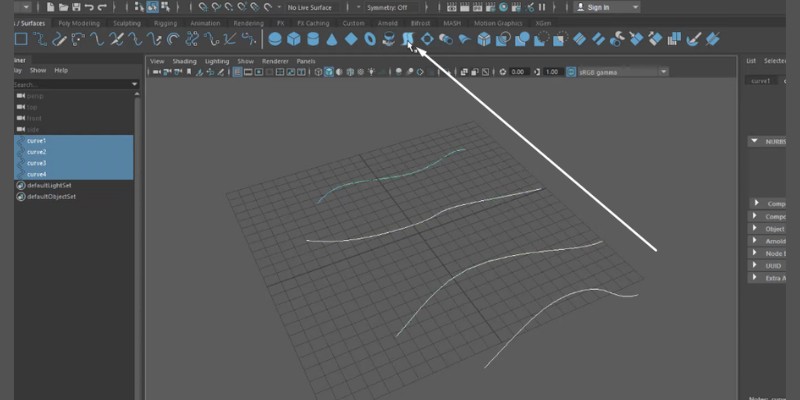
And you will be able to convert the curves into a surface. You can modify it further using the curves.
NURBS modeling is often used for character modeling games characters, and even movies, as it allows for very accurate and realistic representations of human faces and bodies.
The only downside of this technique is that it’s difficult to learn. However, with a little practice, you’ll be able to create any character you can imagine.
3) 3D Sculpting
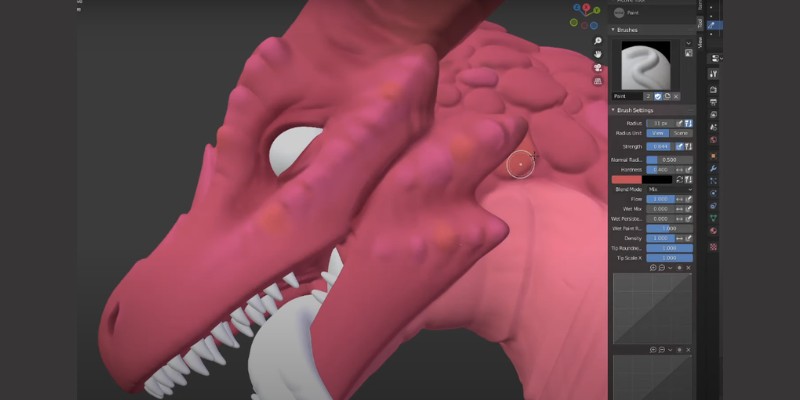
In its simplest form, 3D sculpting is the process of creating a 3D model through “pinch and pull” methods in specialized software like ZBrush or Maya.
This allows artists to create very precise and smooth objects and forms that would be difficult to achieve with other methods like box and polygon modeling.
3D sculpting gives you a lot of control over the final product. You can make small changes to your sculpture without having to start from scratch, which can save a lot of time and effort.
There are many different ways to approach sculpting a character in 3D.
One way is to start with a basic geometric shape, such as a cube or sphere, and then add details one at a time using sculpting brushes. Another approach is to start with a photo of the character you want to sculpt and use that as your reference point.
Whichever method you choose, the important thing is to take your time and be patient. 3D can be a very rewarding experience, but it takes time and practice to get it right.
4) 3D Scanning
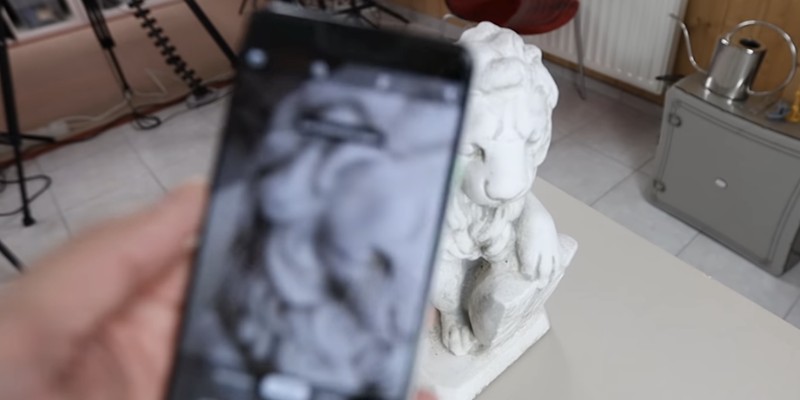
3D scanning is used to create representations of characters for video games, movies, and other digital art. The process begins with a detailed scan of the subject’s face and body.
This data is then used to create a 3D model that can be manipulated to create any desired look or pose.
In addition to the accuracy and precision that this technique offers, it also provides a high degree of flexibility.
For example, if you need to make a change to a model after it has been created, you can simply rescan the object and make the necessary changes.
There are many different types of 3D scanners available on the market today.
Some are designed for specific tasks, while others are more general purpose. No matter the type of character you would like to scan, there is sure to be one that is right for you.
Steps by Step Process of Creating 3D Characters
1) Find Reference Images or Sketches
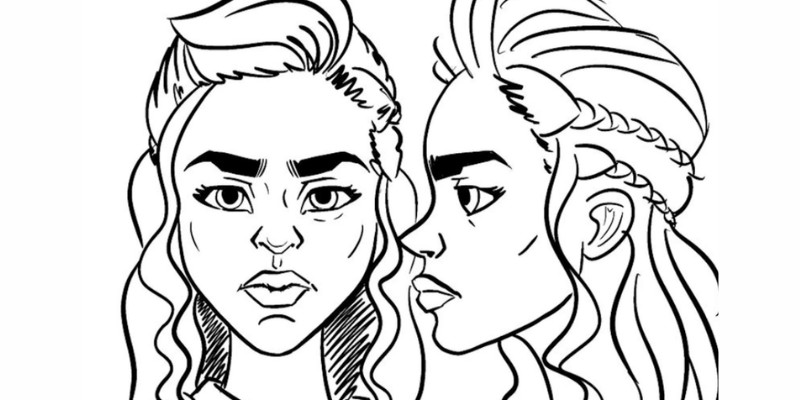
Before beginning the modeling process, it is important to have a clear idea of what the final product should look like. This can be achieved by gathering several reference images of the desired character.
The reference images can be found online on websites like CGTrader and Pikbest, or you can use your photographs. Once the reference images are gathered, they can be used as a guide during the modeling process.
2) Create a Concept Design
Concept design is the next stage of character modeling and it’s important to get it right as it will serve as the foundation of your design.
Creating a good concept design is all about thinking about the character in terms of its function and purpose. What does the character need to do? How will it be used? What kind of personality does it have?
Once you have a clear idea of these things, you can start sketching out your ideas.
One helpful tip is to start with a simple line drawing of the character. This will help you get a feel for its overall shape and proportions.
From there, you can start adding more details like facial features, clothing, and accessories.
With a great concept design in hand, you’ll be well on your way to creating a great character model.
3) 3D Character Modeling
a) Create a Basic Mesh:
The first step in 3D modeling is to create a basic 3D mesh of the character. This can be done using any 3D character modeling software designed for such purposes as Maya, Blender, or MakeHuman.
Creating a basic mesh is not a difficult task, but it does require some knowledge of how to use the software program of your choice. It essentially involves creating the basic shape of your model using large, simple shapes.
This could mean using cubes, cylinders, or any other kind of basic geometric object.
The goal is to get the general proportions and overall form of the model down before moving on to anything else.
One of the benefits of starting with a basic mesh is that it can help you to avoid getting too caught up in the details. It’s easy to get bogged down in small details when you’re first starting, but by focusing on the big picture first, you can make sure that your model is proportionate and looks good.
b) 3D Sculpting
Once you have your basic mesh, it’s time to start refining the shapes and adding details. This is where a lot of the creativity comes in, as you start to bring your sculpture to life. And this is where retopology and 3D sculpting come in.
There are many different ways to approach this stage, but one popular method is to start with the biggest forms first and then work your way down to smaller and smaller details. This can help you avoid getting bogged down in the details too early on.
Of course, there’s no right or wrong way to sculpt your characters – it’s all about whatever works best for you and helps you create the sculpture that you’re envisioning. But one thing to keep in mind as you’re sculpting is the overall proportions of your sculpture.
c) Retopology
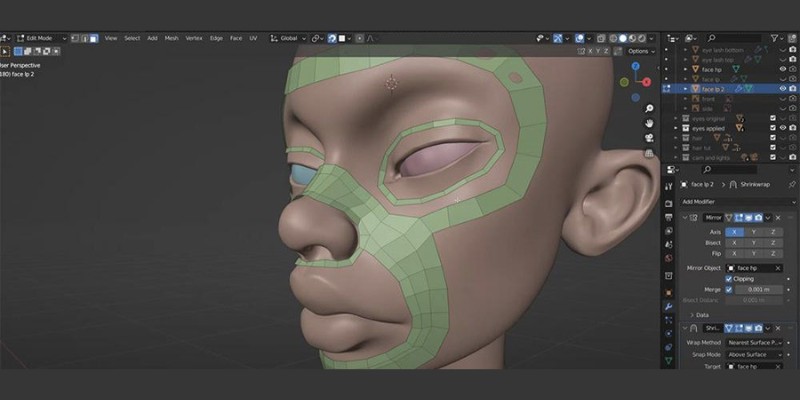
Retopology is the process of rebuilding a mesh to improve its structure and topology to make it simpler and easier to work with, especially in the next stages of character modeling like rigging and animation.
You will quickly adjust your mesh without having to start over from scratch.
Retopology is often needed when the mesh has been damaged or when the topology was not created correctly during sculpting and 3D scanning.
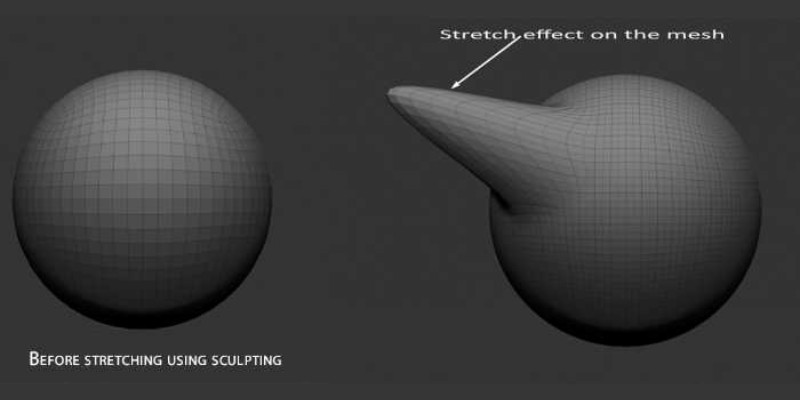
For example in the figure below, a horn was created by sculpting out polygons from the sphere. This created some stretch effects that make it hard to sculpt more precise details on the horn.
After applying retopology, the result is shown below:
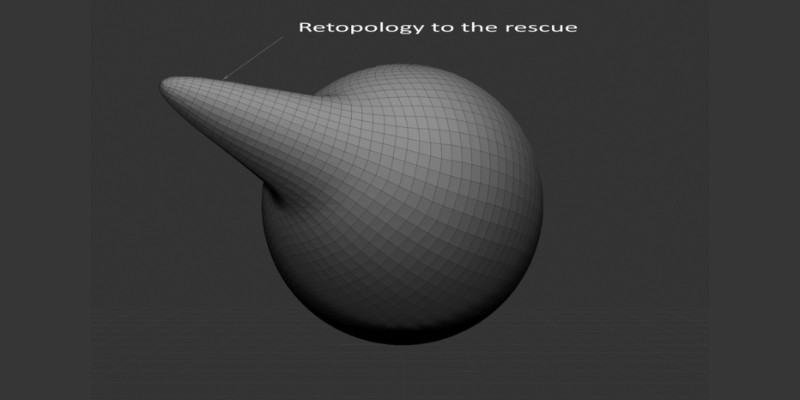
Retopology can be achieved in different ways in different programs. If one is using Modo, you can use the Automatic Retopology tool.
If you are using 3Ds Max, they can use the Retopology feature found on the left-hand side of the program as shown below.
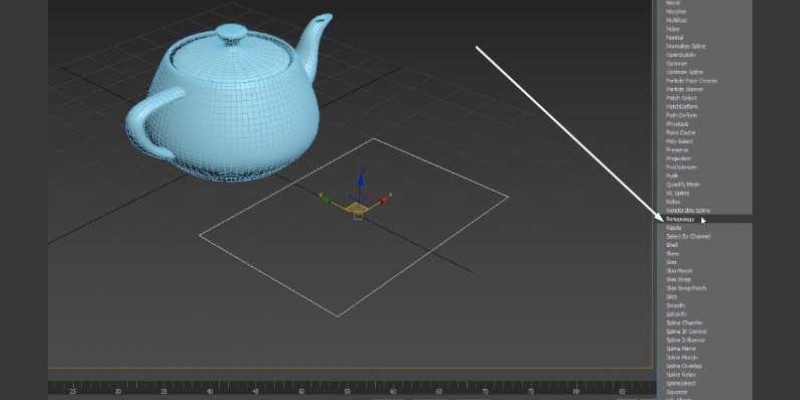
In Blender, the retopology feature is found on the top right-hand side of the interface.
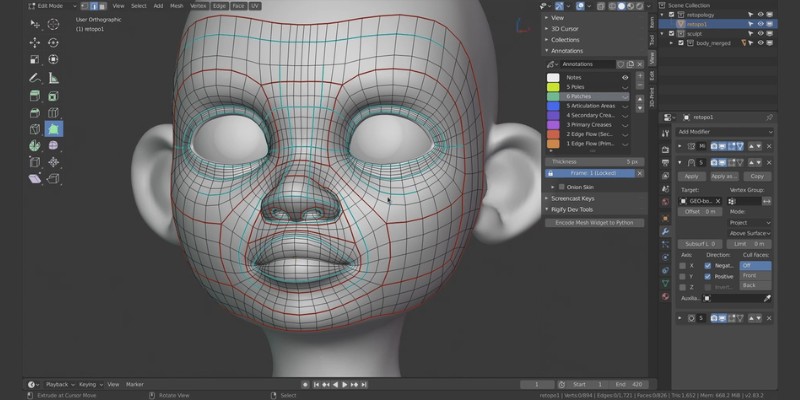
4)Character Texturing
One of the most important aspects of creating a believable character is giving them realistic textures.
There are many different methods that you can use to texture your characters. You can use photographs, hand-painted textures, or even scanned textures. Whichever method you choose, make sure that the textures you use are high resolution and seamless.
Once you have your textures, it’s time to start applying them to your model.
The first thing you’ll need to do is UV unwrap your mesh. This will give you a flat representation of your mesh that you can use to apply your textures.
Once your mesh is unwrapped, you can start applying your textures. The most important thing is to make sure that your textures are laid out correctly on your UV map.
Once your textures are applied, you’ll need to add some details to bring your character to life. Things like wrinkles, pores, and stubble can help to sell your character.
6) Character Rigging
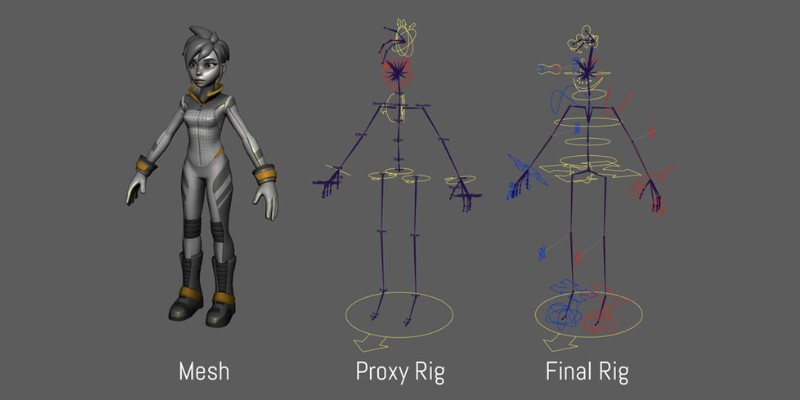
After you are done with texturing your 3D model character, the next step is to do rigging.
Rigging is the process of adding bones and joints to a character model so that it can be animated. It is an essential step in the creation of an animated character and can be a very complex process.
There are many two main ways to rig a character: skeletal and muscle.
Skeletal rigging is the process of creating a skeleton for your character, which will be used to control the character’s movements. Muscle rigging is the process of creating a muscle system for your character, which will be used to simulate realistic muscle movements.
Both skeletal and muscle rigging can be done using a variety of software programs. However, it is important to note that not all programs are created equal.
Some programs are better suited for certain types of rigging than others. For example, Maya is a popular program for skeletal rigging, while Blender is a popular program for muscle rigging.
7) Character Animation
Once you are done rigging or creating a skeleton that can be used to control the movement of the character, it’s time now to do the animation
There are three main types of animation:
- Keyframe animation: It is the most basic type of animation, and it involves manually creating each frame of the animation.
- Motion capture: Motion capture is a more advanced technique that involves recording real-world movements and applying them to the characters.
- Hand-drawn animation: This is the most complex type of animation, and it involves drawing each frame of the animation by hand.
Once you’ve decided on the type of animation you want to use, you need to create an animation timeline. This is a timeline that shows the different frames of the animation and how they are supposed to be played back and you can then start animating your characters.
Conclusion
That’s it for our complete guide to 3D character modeling. We hope you found this article helpful and that you now know how to make 3D character models that are beautiful and realistic. If you have any questions or want some advice on where to go next, don’t hesitate to leave a comment below.
Other articles you may be interested in:

