Selective Laser Sintering: Everything You Need To Know About SLS 3D Printing


At 3DSourced we’ve covered everything 3D printing and 3D since 2017. Our team has interviewed the most innovative 3D printing experts, tested and reviewed more than 20 of the most popular 3D printers and 3D scanners to give our honest recommendations, and written more than 500 3D printing guides over the last 5 years.
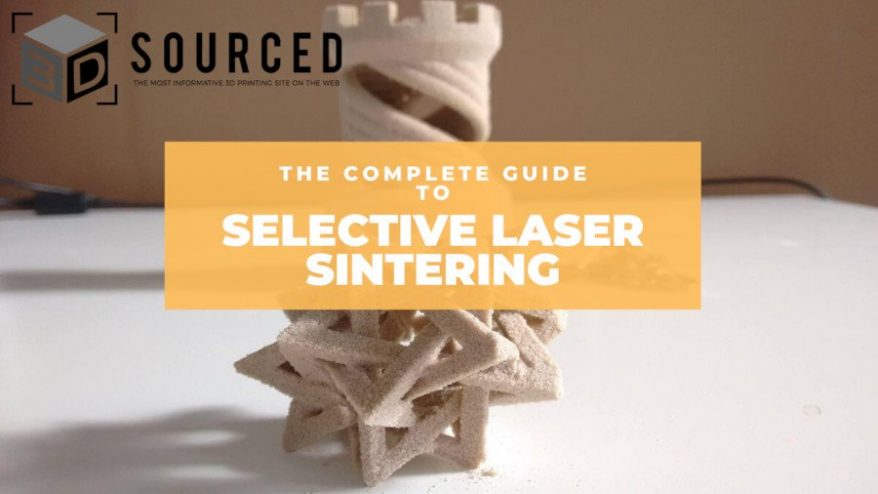
Selective Laser Sintering is one of the main 3D printing technologies used, though SLS 3D printers have been around since the late 1980s. Along with fused deposition modeling and stereolithography, SLS has dominated rapid prototyping and low number manufacturing for decades.
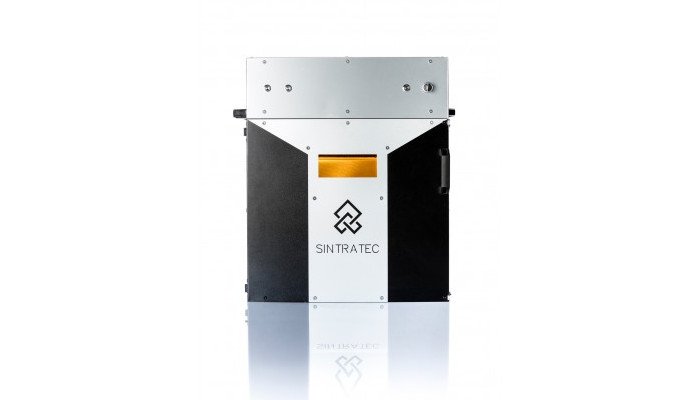
Since the original selective laser sintering patents have expired, a number of companies have pioneered low cost versions of the technology, including Formlabs, Sintratec and Sharebot. We will have to see how these 3D printer companies progress and whether selective laser sintering can become a low cost alternative to current methods.
We also have guides written for all other major 3D printing technologies.
This guide is also part of our FREE 3D printing technologies EBook. You can download it here.
Selective Laser Sintering: Explained
Estimated reading time: 5 minutes.
A Quick Introduction to SLS 3D Printing
Selective laser sintering falls under the powder bed fusion umbrella, and uses polymer powders with a laser to print. This is a very similar method to Direct Metal Laser Sintering, however this involves metal powders instead.
Some also note similarities between selective laser sintering and HP’s new and innovative Multi Jet Fusion technology.
History of Selective Laser Sintering
Selective Laser Sintering was developed by the now Dr. Carl R. Deckard whilst he was still an undergraduate at the University of Texas. The development was with his professor at the time, Joe Beaman. After developing the process, Dr. Deckard went on to start up Desk Top Manufacturing (DTM) which was later sold to 3D printing giant 3D Systems in 2001 for a reported $45 million.
Selective laser sintering was only an industrial method until the patents expired, and almost all SLS printers were industrial machines costing over $250,000. However, now with patents expiring new companies have created lower cost alternatives, such as the Sinterit Lisa, or Sintratec printers. SLS is commonly used for rapid prototyping offered by a wide variety of 3D printing services.
Setting up an SLS 3D Printer
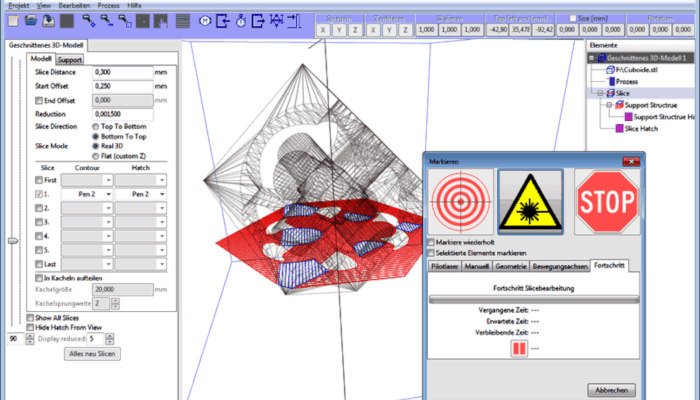
To 3D print, you firstly require a 3D software program if designing the part yourself. If not, you can download 3D printer models from websites such as Thingiverse.
You’ll need to either export your design to a printer-compatible file such as an STL file, or simply import your downloaded file into your 3D slicer. Then, you can send this file to your 3D printer to print the model/part.
Best Selective Laser Sintering Printer Parameters
The two main aspects that affect the quality of an SLS print are the laser spot size, and layer height. This is similar to FDM, just instead of laser spot height you have the nozzle diameter.
Layer heights are usually 100 microns / 0.1mm, but some printers can accurately print at 50 microns.
It is also worth noting that different powders will affect print quality. Fine, soft powders create parts with better surface finish but can create issues during the recoating stage, whereas more tough powders will not look as sharp, but are more reliable and rugged.
Selective Laser Sintering Process
The Selective Laser Sintering process involves tiny particles of polymer powders material being fused together via heat from a high power laser. A thermal source is used to fuse the powder particles together at a specific location on the build platform to develop a solid, 3D printed part.
Before printing, the powder is heated to a temperature just below the material’s melting point. The recoating blade then deposits one layer height’s powder on the build platform. SLS often uses 0.1mm / 100 micron layer heights.
The CO2 laser then selectively sinters the powder according to the dimensions of the part — solidifying it. It will trace the whole layer, before moving down to the next layer and starting again. This continues repeatedly, layer by layer, until the finished part is done.
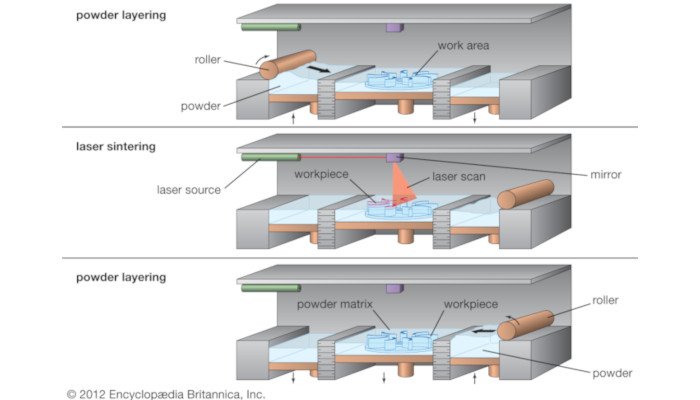
This process is like SLA in that a laser is focused on a specific point, and the platform moves after each layer has been finished. It is also like fused deposition modeling in that parts are completed layer-by-layer through the melting of a material, though FDM uses plastic filaments instead of powder.
Unlike SLA or FDM, selective laser sintering doesn’t require any supports, as the powder in the bin encompasses the part and keeps it stable, no matter the geometry. This is a major advantage as printing supports can affect surface finish, print speed, and means more intricate designs can be printed.
SLS is also one of the 3D printing technologies best suited for batch production. This is because multiple parts can be produced at once — in fact it is cheaper to print many parts simultaneously. This is because the powder is only 50% recyclable, and therefore fully filling the powder bin and printing many parts is the most efficient use of these powders, which can be expensive. Clever part placement / orientation will also keep costs down.
If you’re interested in purchasing an SLS printer, we may be able to help:
*One of our trusted partners will be in touch following a quote request.
A Simple SLS 3D Printing Analogy
If you have ever taken a class where you had to use CAD designs to laser-cut wood in a project, this isn’t too different from SLS 3D printing. Just instead of cutting a part out of wood, the laser is solidifying the powder to make the object.
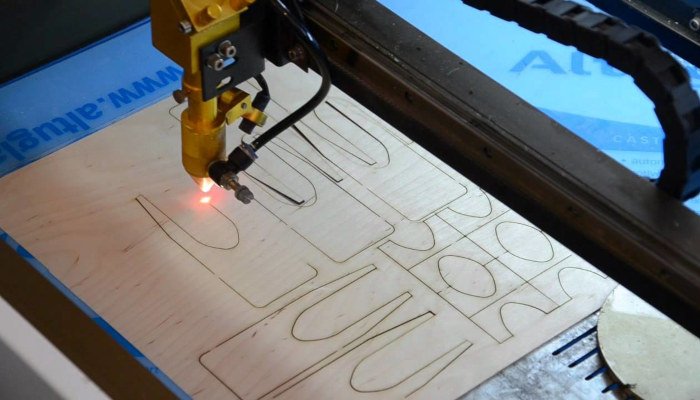
In the same way as you’d use a laser cutter, a laser traces the outline of the part you have designed. However depending on the infill an SLS printer will sinter powder within this outline too.
This is similar to how one individual layer is created in selective laser sintering.
Post-processing with Selective Laser Sintering
The key difference between Selective Laser Sintering and other plastic 3D printing technologies is that there is no need for supports. This is because the part is encapsulated in the material powder and does not need supports to remain stable. This is a major advantage over techniques such as Fused Deposition Modeling and Stereolithography.
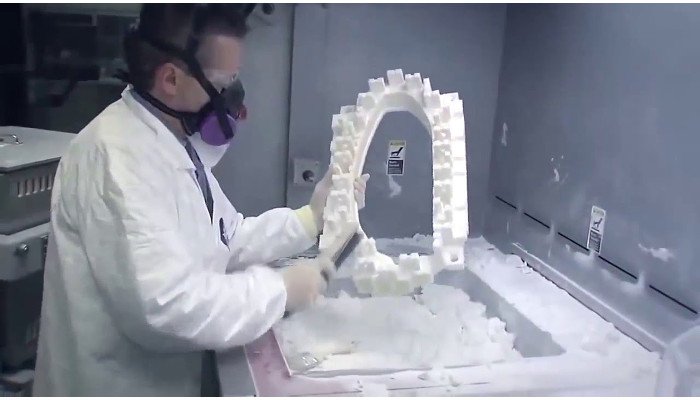
Once finished, a part created through Selective Laser Sintering has to be left to cool before it can be taken out. This takes roughly 50% of the total print time on average. This can add major time to a print, especially if it is a large part — if the print takes 12 hours, you may have to leave it another 6 hours just to cool.
Before any other processes can take place, the part needs to have any excess powder removed with compressed air.
Another important factor to take into account with Selective Laser Sintering is the shrinkage and warping that can take place, in a way similar to fused deposition modeling. This is because when each new layer is sintered it comes into contact with the now-cool layer below it. This difference in heat can pull the layer below up, creating curved parts that form a smile shape when they should be flat.
This is worse with long, flat parts, but can be remedied by producing them at an angle. Most SLS 3D printers have a heat chamber which somewhat counters the shrinkage, though it is still a problem.
Selective Laser Sintering Materials
Materials used with Selective Laser Sintering are polymers, usually different forms of Polyamide (PA).
Polyamide is mostly used as it has good chemical resistance, and is stable and strong. These powders cost around $50-60/kg. The colors are also limited, though parts can be dyed after printing to produce other colors. Metals can be used in a process similar to Selective Laser Sintering, called DMLS (Direct Metal Laser Sintering).
The most commonly used polyamide is PA 12, also known as Nylon. It’s got good chemical resistance and is fairly strong, and can also be mixed with other materials such as carbon or aluminium to create composite powder materials.
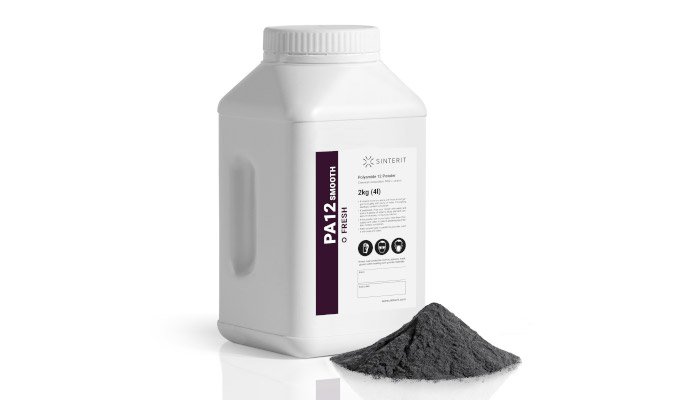
Here are some SLS powder materials we recommend:
- For a basic PA 12 powder, Sintratec produce good Nylon powder. Cheapest price available here.
- If you want to create flexible parts, Sintratec also sell a Flexa Soft powder. However, it’s more expensive — though its available at the best price here.
When choosing your powder materials, it is important to think about which types of powders you want. Finer powders produce a smoother part surface but create issues with handling and recoating, whereas coarser powders create parts which are easier to handle, but have a less attractive finish.
SLS 3D Printers
Selective Laser Sintering is usually thought of as an industrial 3D printing process, rather than an affordable, low-cost technique such as FDM. This has been the case since 3D Systems, EOS and Stratasys produced the leading SLS 3D printer machines in the 1990s.
However, there are now more affordable SLS 3D printers around such as the VIT by Natural Robotics, the Fuse 1 by Formlabs, and the Sinterit Lisa.
SLS 3D printers have an average build volume of 300 x 300 x 300 mm. Larger Laser Sintering 3D printers can print up to 750 x 550 x 550 mm however. Shrinkage of the part should also be expected with SLS. This can usually be estimated at around 3-3.5%, and is mostly random. Most SLS 3D printers are accurate to around 100 microns, though this depends on each 3D printer.
- We have a full ranking of the 10 best SLS 3D printers here.
Selective Laser Sintering Applications
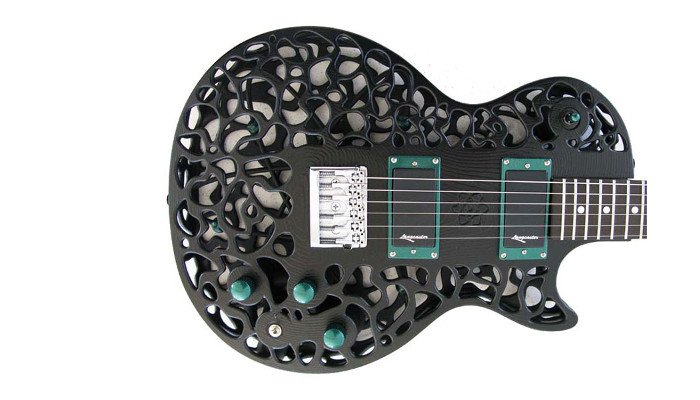
Selective Laser Sintering has applications is the production and prototyping of functional parts. This is because SLS is known for having very good accuracy and is able to print very complex geometries. The fact that multiple parts can be created simultaneously in the build platform means Selective Laser Sintering is good for low run part production.
Industries which use Selective Laser Sintering include the aerospace industry, 3D printed prosthetics, hearing aids, dental implants, and more. SLS is also a preferred production method in the production of hollow parts such as pipes.
Advantages and Disadvantages of Selective Laser Sintering
Selective Laser Sintering Advantages
- Best for producing strong, functional parts with complex geometries.
- High level of accuracy (though not as high as stereolithography).
- Doesn’t require supports, saving printing and post-processing time.
Selective Laser Sintering Disadvantages / Limitations
- Very expensive. The machines can often cost $250,000+, and the materials cost $50-60/kg. In addition, the machines required skilled operators to use.
- Cool-down time of 50% of print time can mean up to 12 hours of waiting. This leads to longer production time.
- Parts have a grainy surface without any post-processing.

